
Introduction
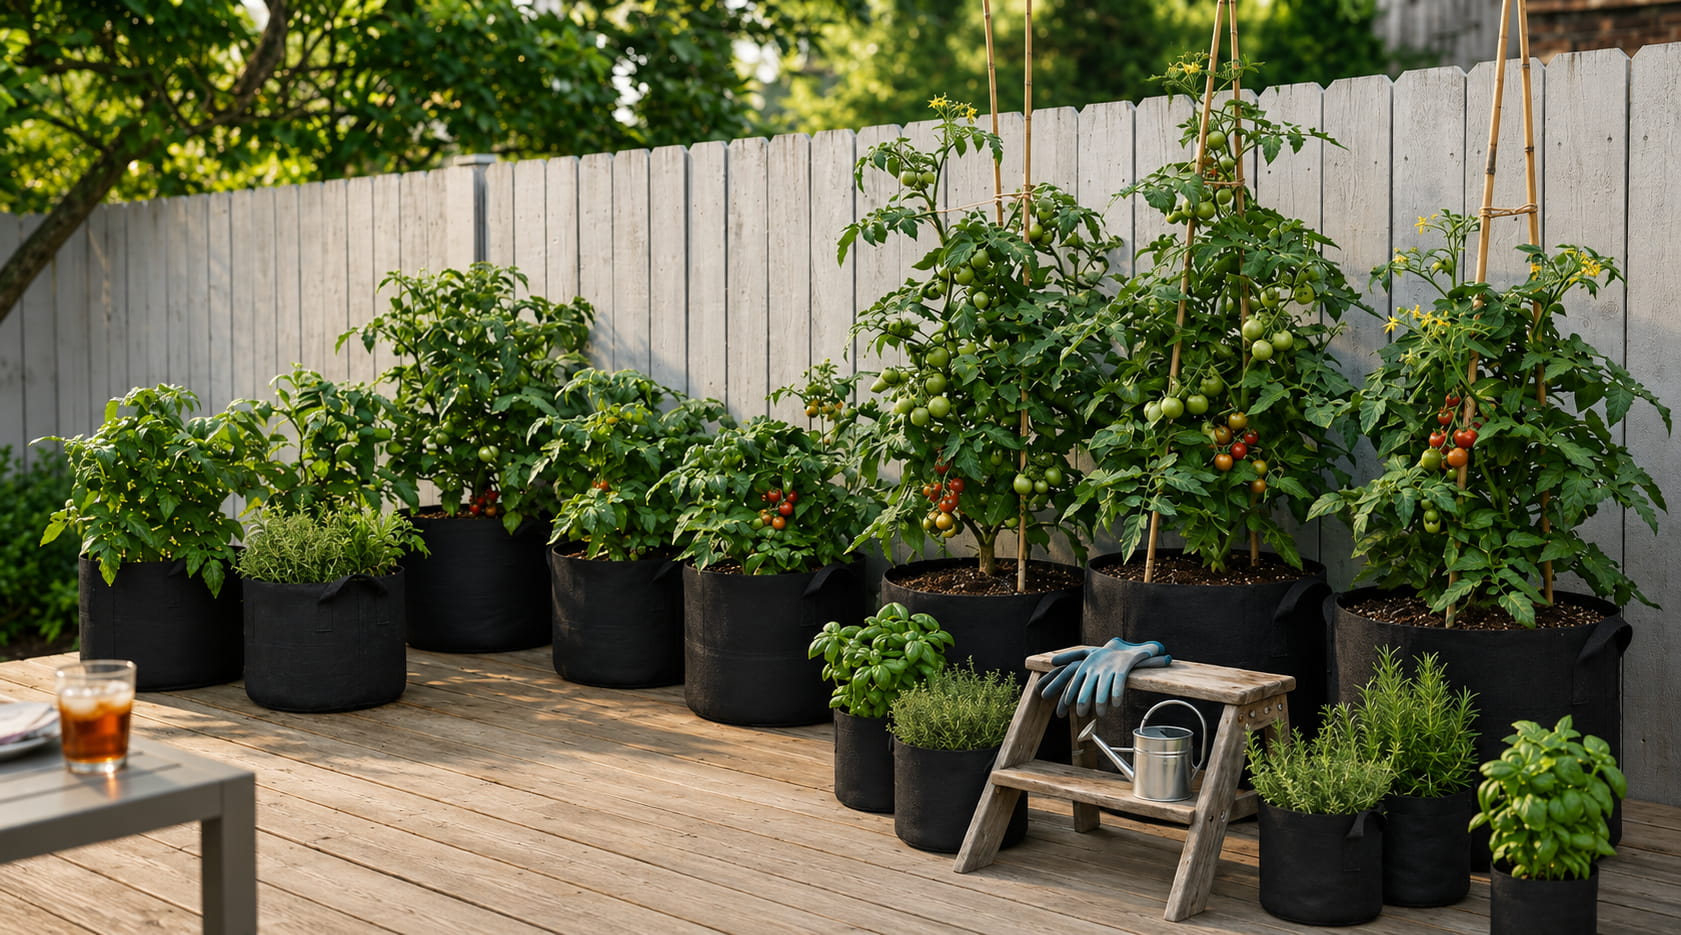
If you’ve ever struggled with poor drainage, root-bound plants, or a tomato harvest that just never lived up to the hype, it might be time to rethink your container. Growing tomatoes in fabric grow bags has become one of the fastest-growing trends among home gardeners, urban growers, and even small-scale market farmers — and for good reason. These breathable, lightweight containers solve some of the biggest problems that come with growing tomatoes in plastic pots or directly in compacted garden soil.
In this guide, you’ll learn exactly how to choose the right bag size, mix the perfect soil blend, water and feed your plants correctly, and avoid the most common mistakes that hold back yields. Whether you’re a first-time container gardener or a seasoned grower looking to switch systems, this is everything you need to know to get the most tomatoes possible out of a fabric grow bag.
Why Grow Tomatoes in Fabric Grow Bags?
Fabric grow bags aren’t just a gardening fad — they offer real, measurable advantages over traditional plastic pots and in-ground planting.
1. Superior Root Health Through “Air Pruning”
Unlike plastic containers, where roots hit the wall and start circling (a problem called “root binding”), the breathable fabric in a 15-gallon fabric grow bag allows air to reach the roots near the edges. This naturally “air prunes” the root tips, encouraging the plant to grow a denser, more fibrous root system instead of a few long, tangled roots. A stronger root system means better nutrient uptake and, ultimately, bigger tomatoes.
2. Better Drainage, Less Root Rot
Excess water drains straight through the fabric walls instead of pooling at the bottom like it can in solid plastic pots. This dramatically reduces the risk of root rot, one of the most common reasons container tomatoes fail.
3. Temperature Regulation
Fabric grow bags breathe, which helps prevent the “cooking” effect that can happen inside black plastic pots sitting in direct sun. Roots stay cooler and healthier through the hottest part of summer.
4. Portability and Flexibility
Grow bags are lightweight (when empty) and often come with sturdy handles, making it easy to move your tomato plants to chase sunlight or bring them in during a cold snap or storm.
Choosing the Right Grow Bag Size for Tomatoes
Size matters enormously when it comes to tomato yields. A bag that’s too small will stunt root growth and reduce your harvest no matter how well you care for the plant.
| Tomato Type | Recommended Bag Size |
|---|---|
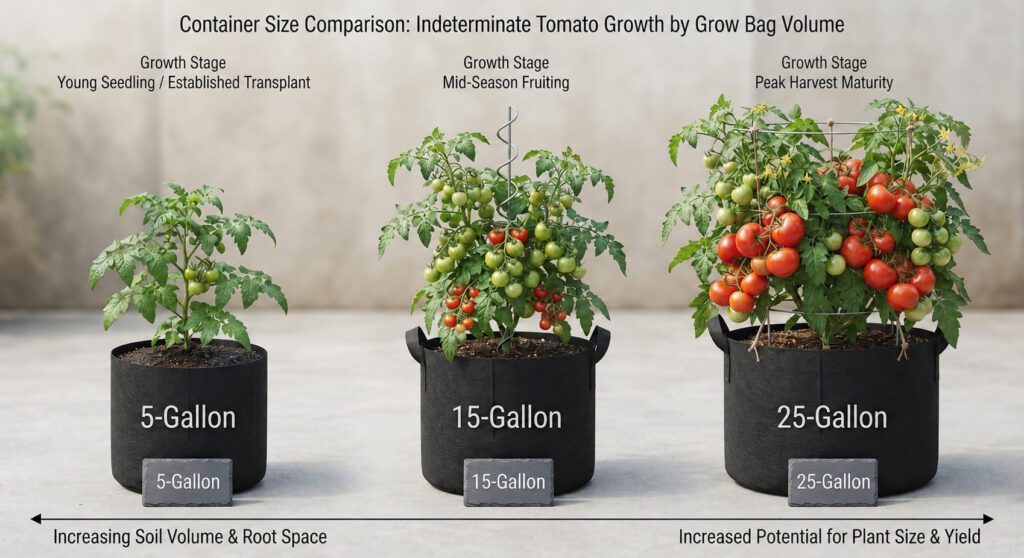
| Cherry or dwarf tomatoes | 5–7 gallons |
| Determinate (bush) tomatoes | 10–15 gallons |
| Indeterminate (vining) tomatoes | 15–25 gallons |
For most home gardeners growing standard indeterminate varieties (like Beefsteak, Better Boy, or Brandywine), a 20-gallon fabric grow bag is the sweet spot between manageability and root space.
The Best Soil Mix for Tomatoes in Grow Bags
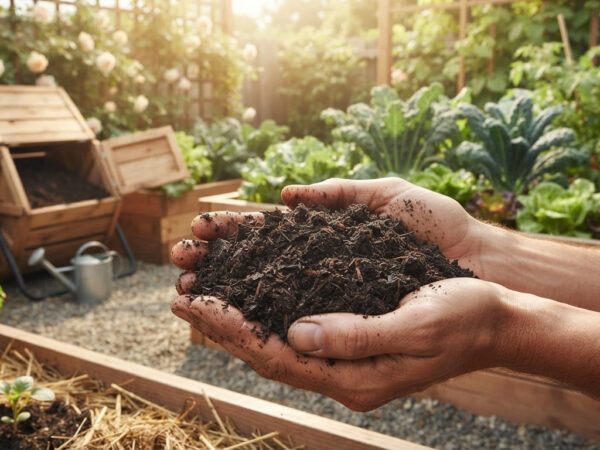
Because grow bags drain faster than in-ground soil, the mix you use matters more than in a traditional garden bed. Regular garden soil is too dense and compacts quickly in a bag, choking roots of oxygen.
The Ideal Base Mix
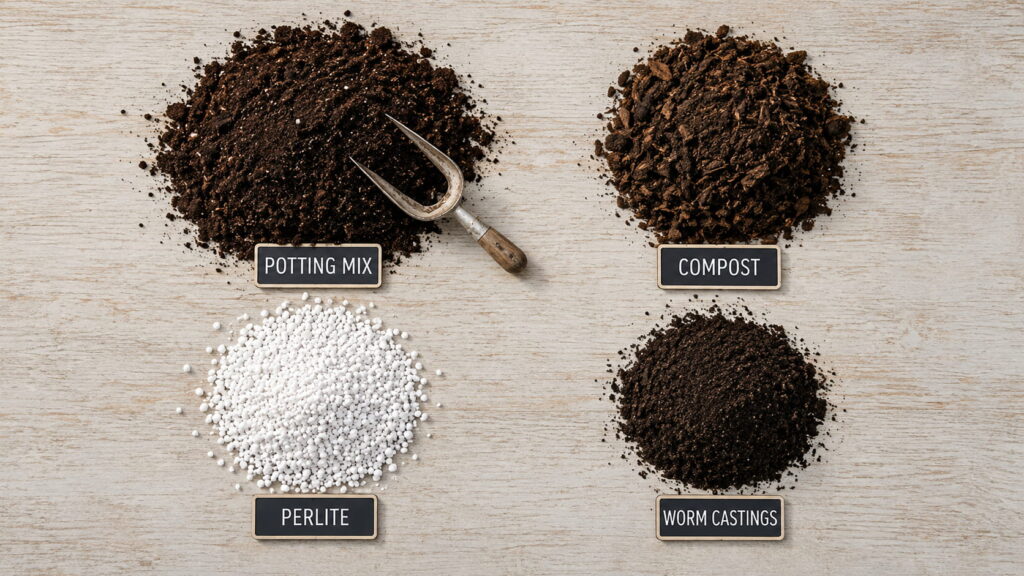
A well-draining, nutrient-rich mix for tomatoes in grow bags typically includes:
- 40% high-quality potting mix — provides structure and moisture retention
- 30% compost — adds slow-release nutrients and beneficial microbes
- 20% perlite or coarse sand — improves drainage and prevents compaction
- 10% aged manure or worm castings — boosts nitrogen and organic matter
Many experienced growers simply start with a bagged raised bed and container potting mix and amend it with compost and perlite rather than building a blend from scratch.
Why Not Just Use Garden Soil?
Garden soil is formulated for open ground where roots have unlimited room to spread and worms and microbes constantly aerate the earth. Inside a confined grow bag, that same soil compacts into a dense, brick-like mass within a few weeks, suffocating roots and trapping water unevenly.
Choosing the Right Tomato Varieties for Grow Bags
Not every tomato variety performs equally well in a bag. Consider your bag size and available space before choosing seeds or seedlings.
Best Varieties for Smaller Bags (5–10 Gallons)
- Tumbling Tom
- Patio Princess
- Tiny Tim
- Bush Early Girl
Best Varieties for Larger Bags (15–25 Gallons)
- Celebrity
- Better Boy
- Brandywine
- San Marzano
- Cherokee Purple
Determinate varieties tend to be more compact and productive earlier, making them a great choice for growers with limited vertical space. Indeterminate varieties keep producing all season but need larger bags and sturdy support.
Planting Your Tomatoes in a Fabric Grow Bag
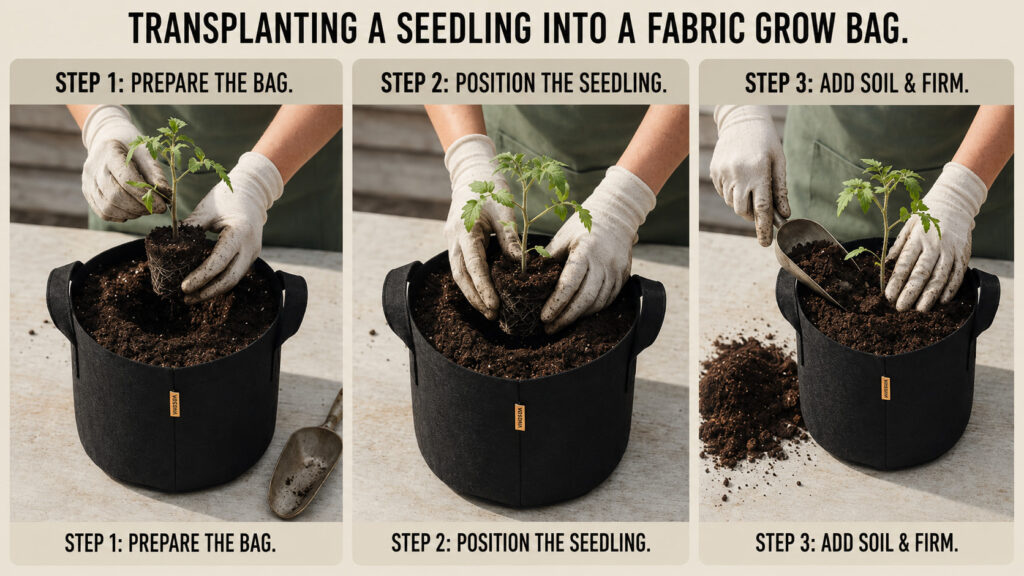
Step 1: Prep the Bag
Fill your grow bag about two-thirds full with your soil mix before planting, leaving room to add more soil as the plant grows (this is especially helpful for burying the stem deeper, which we’ll cover below).
Step 2: Bury the Stem Deep
Tomatoes are unique in that they can grow roots along their buried stem. When transplanting, strip off the lower leaves and bury two-thirds of the stem below the soil line. This creates a much stronger, more extensive root system than planting at the same depth as the nursery pot.
Step 3: Water Thoroughly
Give your newly planted tomato a deep watering immediately after planting to settle the soil around the roots and eliminate air pockets.
Step 4: Add Support Early
Install your stake, cage, or trellis at planting time rather than waiting until the plant is established — this avoids damaging roots later.
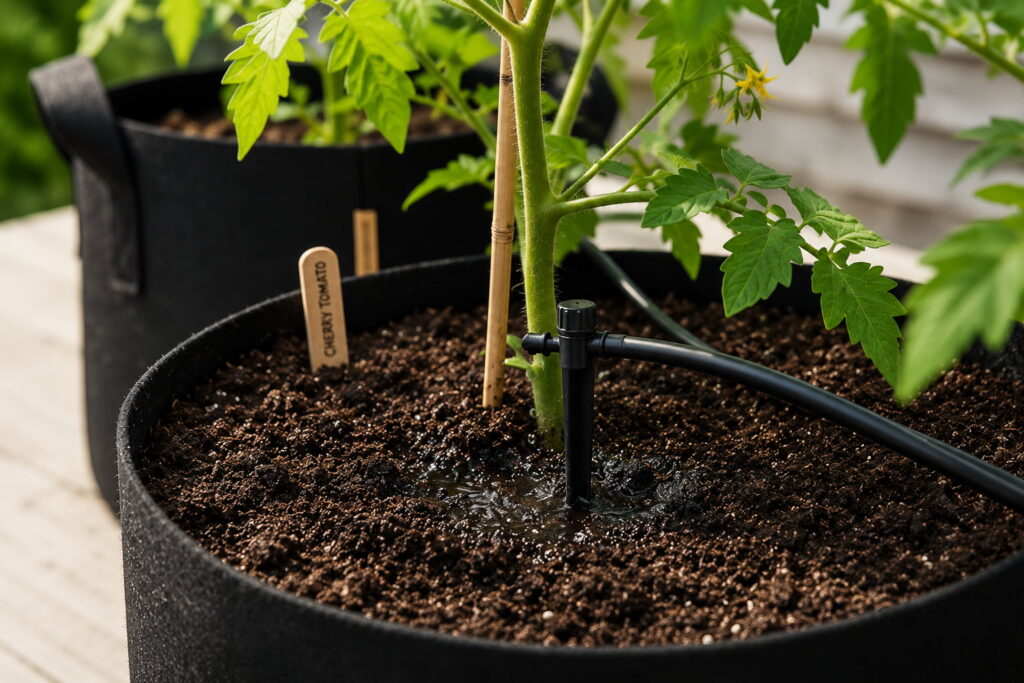
Watering Requirements for Grow Bag Tomatoes
Because fabric grow bags drain and dry out faster than plastic pots or garden beds, watering consistency is one of the most important factors in your success.
General Watering Guidelines
- Seedling stage: Water when the top inch of soil feels dry, typically every 1–2 days.
- Vegetative growth: Water deeply once daily in moderate weather.
- Fruiting stage: Water once or even twice daily during hot summer weeks, since fruiting plants have the highest water demand.
A simple finger test — inserting a finger two inches into the soil — is often more reliable than a fixed schedule, since weather and bag size both affect how quickly soil dries out.
Mulching to Reduce Watering Frequency
A 2-inch layer of straw, shredded leaves, or wood mulch on top of the soil significantly reduces evaporation and keeps root temperatures more stable.
Fertilizing Schedule for Maximum Yield
Tomatoes are heavy feeders, and because grow bags flush out nutrients faster through drainage, a consistent feeding schedule is essential.
Recommended Feeding Timeline
- At planting: Mix a balanced organic fertilizer into the soil.
- 2–3 weeks after transplanting: Begin feeding every 10–14 days with a nitrogen-forward fertilizer to support leafy growth.
- At first flowering: Switch to a tomato-specific fertilizer higher in phosphorus and potassium to support fruit development.
- During fruiting: Continue feeding every 1–2 weeks, supplementing with calcium if you notice signs of blossom end rot.
Signs of Nutrient Deficiency
- Yellowing lower leaves: Often nitrogen deficiency
- Purple-tinged leaves: Often phosphorus deficiency
- Dark spots on fruit bottoms: Usually calcium deficiency or inconsistent watering (blossom end rot)
Sunlight and Placement
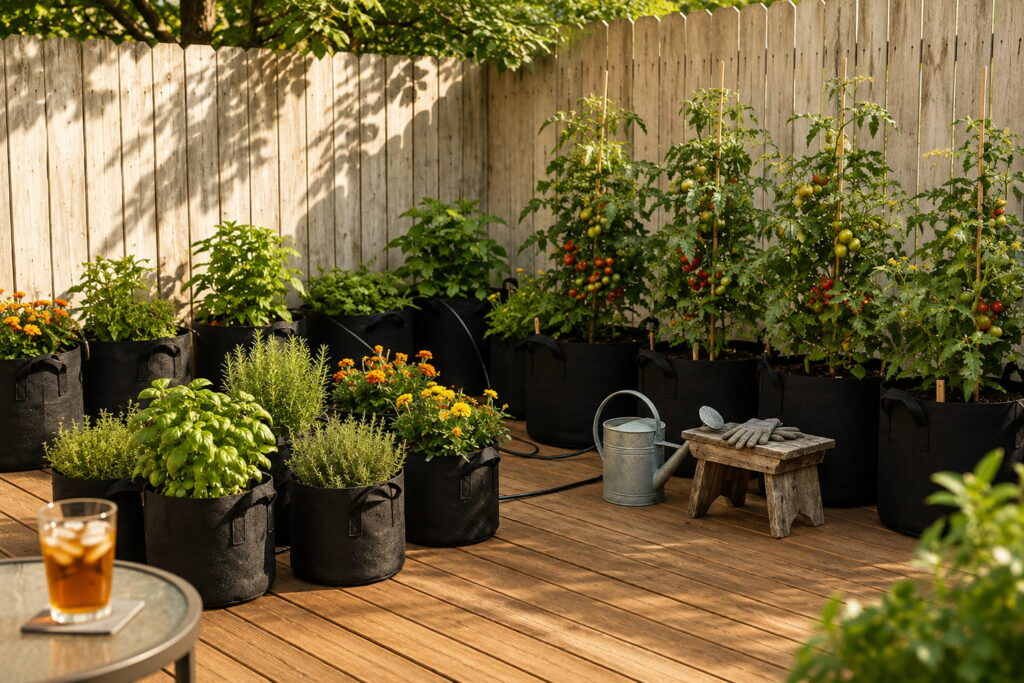
Tomatoes need at least 6–8 hours of direct sunlight daily to produce well. One of the biggest advantages of fabric grow bags is that you can reposition them throughout the season to chase optimal sun exposure.
- South-facing patios or balconies typically offer the most consistent light in the Northern Hemisphere.
- Rotate bags every few days if your plants are only getting sun from one direction, to encourage even growth.
- Elevate bags slightly on pot feet or bricks to improve drainage and airflow underneath.
Staking and Support Systems
Even determinate tomatoes benefit from support, and indeterminate varieties absolutely require it once they start producing heavy fruit clusters.
Popular Support Options
- Tomato cages: Best for determinate and dwarf varieties.
- Stakes with twine: Great for single-stem pruned indeterminate plants.
- A-frame or trellis netting: Ideal for maximizing vertical space in small areas.
A heavy-duty tomato cage designed for grow bags (with legs that anchor into the fabric or soil) tends to outperform standard wire cages, which can tip over in windy conditions since grow bags are lighter than solid pots.
Pruning for Bigger, Better Yields
Pruning is one of the most underrated techniques for improving tomato yields in a confined growing space.
What to Prune
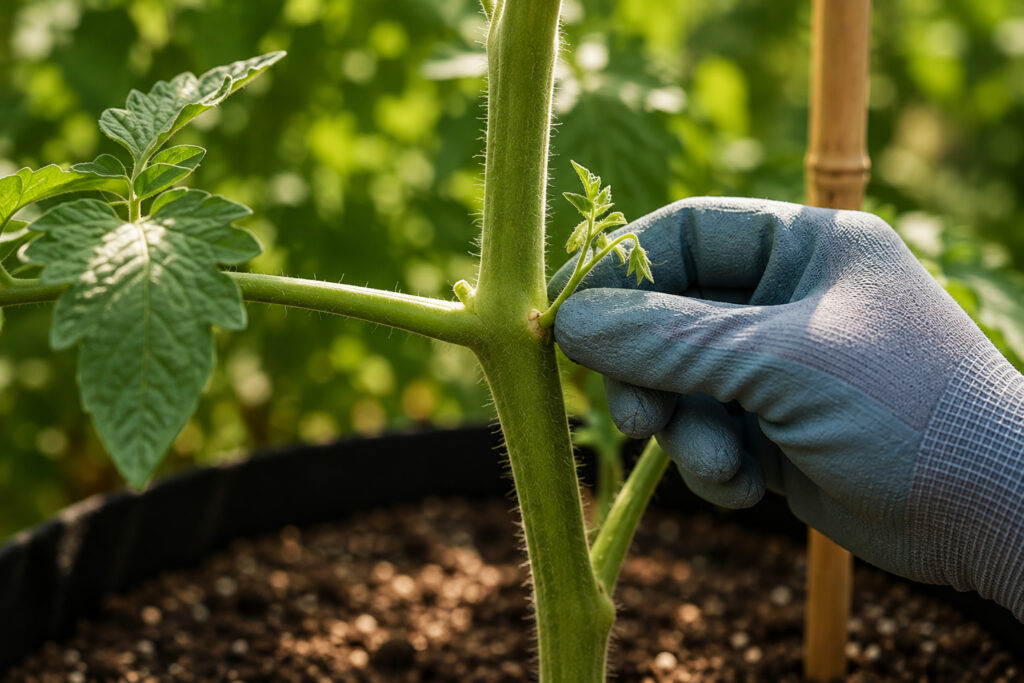
- Suckers: The small shoots that grow in the joint between the main stem and a branch. Removing most suckers on indeterminate varieties directs energy toward fruit rather than excess foliage.
- Lower leaves: Remove yellowing or diseased lower leaves to improve airflow and reduce disease risk.
- Excess foliage: Thin out dense growth mid-season to let sunlight reach developing fruit.
How Much to Prune
For indeterminate varieties in grow bags, many growers maintain a 1–2 stem system, pruning aggressively to concentrate the plant’s energy since root space is limited compared to an open garden bed. Determinate varieties should only be lightly pruned, as removing too much growth reduces overall yield.
Common Pests and Diseases in Grow Bag Tomatoes
Container-grown tomatoes face many of the same pest and disease pressures as in-ground plants, though good airflow around fabric bags helps reduce some risks.
Common Pests
- Aphids: Small, sap-sucking insects found on new growth. Treat with insecticidal soap or a strong water spray.
- Hornworms: Large green caterpillars that can defoliate a plant quickly. Hand-pick and remove.
- Whiteflies: Tiny white insects that cluster on leaf undersides. Yellow sticky traps help monitor and reduce populations.
Common Diseases
- Early blight: Dark, concentric spots on lower leaves. Improve airflow and avoid overhead watering.
- Blossom end rot: Caused by calcium deficiency or inconsistent watering, not usually a soil-borne disease.
- Powdery mildew: A white, powdery coating on leaves, common in humid conditions with poor airflow.
Maximizing Your Tomato Yield: Advanced Tips
Once you’ve mastered the basics, these advanced strategies can push your grow bag tomatoes to their full potential.
- Use companion planting. Basil, marigolds, and borage planted alongside tomatoes can help repel pests and attract pollinators.
- Hand-pollinate in low-airflow areas. If you’re growing on an enclosed balcony, gently shake flowering stems midday to help pollen transfer.
- Rotate your soil mix each season. Refresh at least half the soil in your grow bags between growing seasons to avoid nutrient depletion and disease buildup.
- Insulate bags in cooler climates. Wrapping bags with bubble wrap or moving them to warmer spots on cool nights can extend your growing season by several weeks.
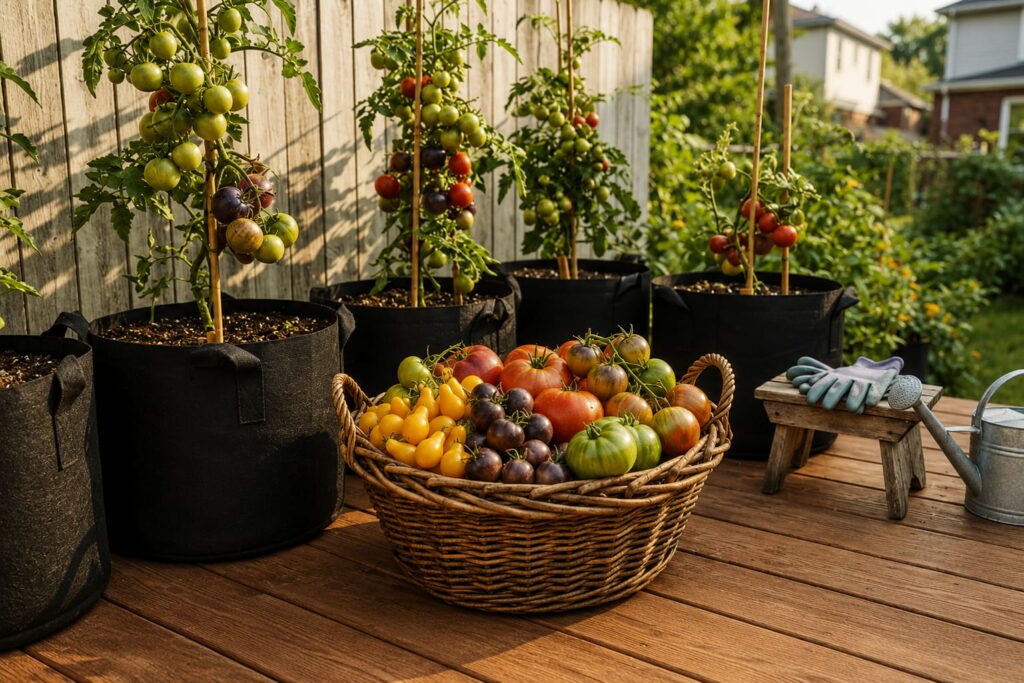
- Harvest at the right stage. Picking tomatoes when they just begin to blush (rather than waiting for full vine-ripening) can actually encourage the plant to continue setting fruit rather than diverting energy to fully ripening a smaller number.
Seasonal Care Calendar for Grow Bag Tomatoes
| Stage | Timing | Key Tasks |
|---|---|---|
| Pre-planting | 6–8 weeks before last frost | Start seeds indoors or purchase seedlings |
| Transplanting | After last frost, soil above 60°F | Prepare soil mix, bury stem deeply, add support |
| Vegetative growth | Weeks 1–4 after transplant | Water consistently, begin light feeding |
| Flowering | Weeks 4–6 | Switch to phosphorus/potassium fertilizer, begin pruning suckers |
| Fruiting | Weeks 6–12 | Increase watering frequency, monitor for pests, harvest regularly |
| End of season | First fall frost approaching | Harvest remaining green tomatoes, refresh or store soil |
Frequently Asked Questions
For best results, plant one tomato plant per grow bag, even in larger 20 to 25 gallon sizes. Crowding multiple plants together increases competition for nutrients and water, reducing overall yield per plant.
No additional holes are needed. The fabric material itself is naturally porous and allows excess water to drain through the entire surface rather than through holes in the bottom.
High-quality, UV-treated fabric grow bags typically last 3 to 5 growing seasons with proper care, including rinsing and fully drying them between uses.
Yes, but it’s best to refresh at least 30 to 50 percent of the soil with new compost and amendments each season to replenish nutrients and reduce the risk of soil-borne diseases.
A 10 to 15 gallon bag is a great starting point for beginners, offering enough root space for most tomato varieties without being too heavy or expensive to fill.
Final Thoughts
Growing tomatoes in fabric grow bags combines the flexibility of container gardening with root health benefits that are hard to match in traditional pots. By choosing the right bag size, mixing a well-draining soil blend, watering consistently, and following a simple feeding and pruning routine, you can expect yields that rival — and sometimes exceed — what’s possible in a traditional garden bed.
Start with one or two bags this season, dial in your watering and feeding rhythm, and you’ll likely find yourself expanding your grow bag garden next year.
Comments (0)