
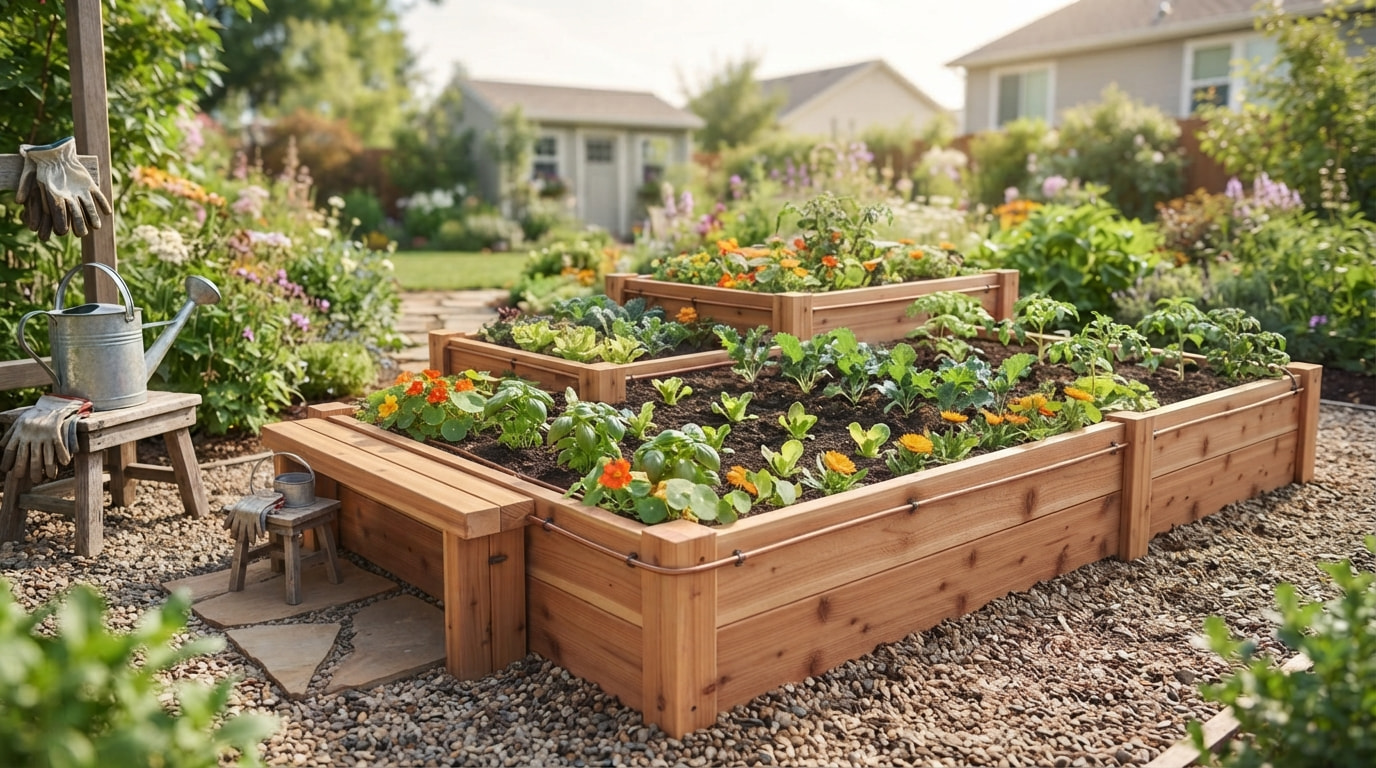
If you’ve been wanting a DIY raised garden bed but keep putting it off because you assume it means power tools, a truckload of lumber, and a weekend lost to trial and error — good news: it doesn’t have to. With the right materials list and a clear plan, you can build a sturdy, long-lasting raised bed in an afternoon, often for less than the cost of a few bags of bagged garden soil.
This guide walks you through everything: why raised beds outperform in-ground gardening for most home growers, which materials actually give you the best value, and a full step-by-step build — plus the soil mix, placement rules, and mistakes that trip up almost every first-time builder. If you already read our guide on growing tomatoes in fabric grow bags, you’ll notice a lot of the same soil and drainage principles apply here too, and we’ll point out exactly where.
By the end, you’ll have a bed ready to fill, plant, and harvest from for years.
What Is a DIY Raised Garden Bed?
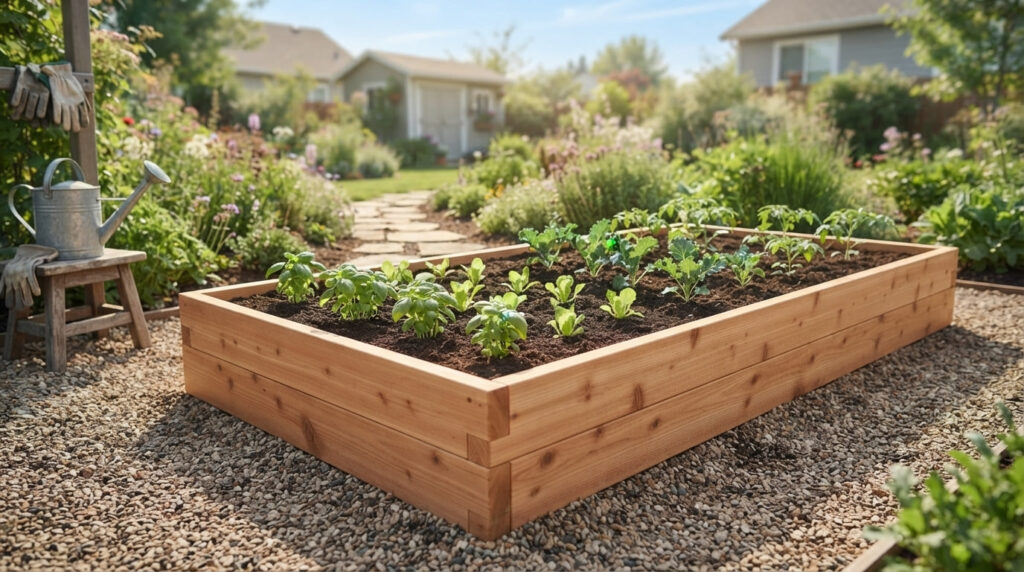
A raised garden bed is simply a bottomless (or sometimes lined) frame filled with soil that sits above the surrounding ground level, typically 8 to 24 inches tall. Unlike a container, it’s usually open to the native soil below, which allows roots to grow deeper and drainage to happen more naturally. Unlike in-ground rows, you control the soil quality completely from day one — no fighting compacted clay or rocky ground.
Building your own DIY raised garden bed rather than buying a kit gives you three advantages: you choose the exact dimensions to fit your yard, you pick materials based on your budget and how long you want the bed to last, and you can usually build it for 30–50% less than a comparable pre-made kit.
Why Build a Raised Bed Instead of Planting in the Ground?
Raised beds solve a handful of problems that frustrate a lot of home gardeners: poor native soil, poor drainage, weeds, and physical strain from bending all the way to ground level. Here’s how the three most common growing methods compare:
| Growing Method | Soil Control | Drainage | Upfront Cost | Best For |
|---|---|---|---|---|
| In-ground row | Low — stuck with native soil | Depends on soil type | Free | Large plots, low budget |
| Fabric grow bags | High — full control | Excellent | Low–Medium | Patios, renters, mobility |
| Raised garden bed | High — full control | Very good | Medium | Permanent garden beds, long-term growing |
If your yard has heavy clay, poor drainage, or a short growing season, a raised bed warms up faster in spring and drains excess water far more reliably than open ground. It’s also the more permanent cousin of the fabric grow bag setup — if you found grow bags worked well for your tomatoes, a raised bed gives you that same soil control on a bigger, more permanent scale.
Materials Needed for a Budget-Friendly Raised Bed
The single biggest cost decision in any DIY raised garden bed build is the wall material. Here’s an honest comparison so you can pick based on your budget and how long you want it to last:
| Material | Approx. Cost (4×8 ft bed) | Lifespan | Notes |
|---|---|---|---|
| Untreated pine/fir lumber | $40–$60 | 3–5 years | Cheapest option, will need replacing sooner |
| Cedar or redwood lumber | $90–$140 | 10–15 years | Naturally rot-resistant, best value long-term |
| Pressure-treated lumber | $60–$90 | 10–15 years | Durable; modern treatments are safe for food crops |
| Concrete blocks | $70–$100 | 20+ years | No assembly skill needed, very permanent |
| Galvanized steel panels | $100–$160 | 15–20 years | Modern look, fast to assemble, no rot risk |
| Reclaimed/free pallet wood | $0–$20 | 2–4 years | Cheapest possible, more labor to prep |
Budget tip: Cedar costs more upfront but works out cheaper per year of use than untreated pine, since you won’t be rebuilding the bed every few seasons.
Full Shopping List (Standard 4×8 ft, 12-inch-tall bed)
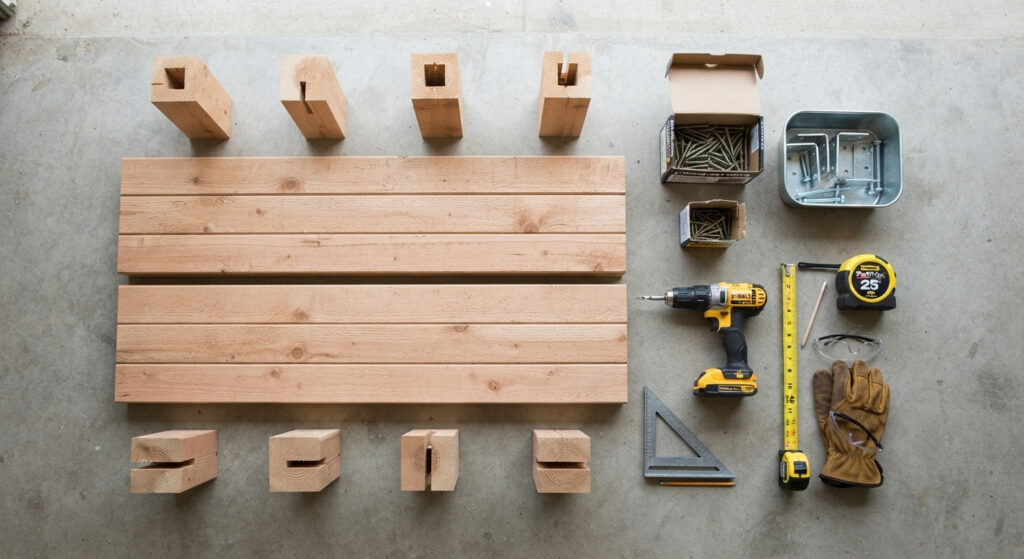
- 4 boards, cedar lumber boards, 2×12×8 ft (long sides)
- 4 boards, cedar lumber, 2×12×4 ft (short sides) — or have your hardware store cut two 8 ft boards in half
- 4 corner posts (4×4×14 in), or a raised bed corner bracket kit if you want a cleaner, no-post look
- exterior-rated deck screws (roughly 24–32 screws, 3-inch)
- hardware cloth or landscape fabric (to line the bottom if burrowing pests are a concern)
- Cardboard or newspaper (optional weed-suppression layer)
Tools You’ll Need
- Cordless drill/driver with a screwdriver bit
- Tape measure
- 4-foot level
- Handsaw or circular saw (only needed if your lumber isn’t pre-cut)
- work gloves and safety glasses
Most hardware stores will cut your lumber to length for free or a small fee — this alone removes the biggest barrier for first-time builders, since you can skip the saw entirely.
How to Build a DIY Raised Garden Bed: 7 Step-by-Step Instructions
Step 1: Choose and Measure Your Location
Pick a spot that gets at least 6–8 hours of direct sunlight, is reasonably level, and has decent access to a hose or watering can. Mark the corners with stakes and string so you can visualize the footprint before committing.
Step 2: Clear and Level the Ground
Remove any grass, weeds, or debris from the footprint. You don’t need to till or amend the native soil — the raised bed will sit on top of it — but the ground should be roughly level so your frame doesn’t lean or drain unevenly. A rake and a level are usually all you need here.
Step 3: Cut Your Lumber to Size
If your boards weren’t pre-cut, measure and cut now. For a 4×8 ft bed you’ll need four 8 ft boards and four 4 ft boards. Double-check every measurement before cutting — lumber is the most expensive part of this project, and a mis-cut board is wasted money.
Step 4: Assemble the Corners
Stand one long board and one short board on edge, forming an L at each corner. Attach a 4×4 corner post on the inside of the L and drive two to three deck screws through each board into the post. Repeat for all four corners. This corner-post method is more stable than screwing boards directly into each other end-to-end, especially once the frame is filled with heavy, wet soil.
Step 5: Square Up the Frame
Once all four corners are joined, measure the two diagonals of the rectangle — if they’re equal, your frame is square. Adjust as needed before the screws are fully tightened, then finish driving all screws home.
Step 6: Line the Bottom (Optional but Recommended)
If you’re dealing with gophers, voles, or other burrowing pests, staple hardware cloth to the underside of the frame before placing it. If weeds are your main concern instead, lay a few sheets of cardboard or newspaper directly on the ground inside the frame — it smothers grass and weeds and breaks down naturally within a season.
Step 7: Place the Frame and Fill with Soil
Set the finished frame in position, check it’s level, and fill it with your soil mix (see the next section). Water it in thoroughly before planting to let the soil settle, then top off any low spots.
💡 Pro Tip: Fill your raised bed in two stages — fill to about 80% capacity, water thoroughly, wait a day for the soil to settle, then top it off. Filling all the way on day one almost always leaves you with a bed that sinks a few inches within the first week.
Choosing the Right Size and Height for Your Raised Bed
Before you buy a single board, it’s worth thinking through dimensions, since this is much harder to change after the bed is built and filled.
Width: The golden rule for any raised bed is that you should never have to step inside it. Soil compaction from foot traffic undoes a lot of the benefit of building a raised bed in the first place. If the bed will be accessible from both sides, keep it to about 4 feet wide, since that’s roughly the maximum most adults can comfortably reach into from either edge. If it will sit against a fence or wall and only be accessible from one side, 2–3 feet is a safer maximum.
Length: Length is far more flexible and mostly comes down to available space and lumber sizes. An 8-foot length is popular simply because it matches standard lumber, minimizing waste and cuts.
Height: This is where a lot of first-time builders underbuild. A 6-inch-tall bed barely improves on in-ground planting. For most vegetables, aim for at least 10–12 inches, and go to 16–24 inches if you want to grow root vegetables, reduce bending while gardening, or you’re building on top of poor-draining native soil where you want more separation from the ground below. Taller beds do cost more in both lumber and soil, so it’s a genuine budget trade-off — a 24-inch bed can use nearly double the soil volume of a 12-inch bed of the same footprint.
| Bed Height | Best For | Soil Volume (4×8 ft bed) | Relative Cost |
|---|---|---|---|
| 6–8 inches | Herbs, lettuce, shallow greens | ~16 cubic ft | Lowest |
| 10–12 inches | Most vegetables (tomatoes, peppers, beans) | ~27 cubic ft | Moderate |
| 16–24 inches | Root vegetables, reduced bending, poor drainage sites | ~43–64 cubic ft | Highest |
Common Mistakes to Avoid When Building a Raised Bed
⚠️ Common Mistakes:
Making it too wide. If you can’t comfortably reach the center from either side (max ~4 ft wide for a bed accessible from both sides, ~2–3 ft if only accessible from one side), you’ll end up stepping on your soil and compacting it. Skipping the corner posts. Screwing boards directly into each other’s end grain looks fine on day one but works loose within a season under the weight of wet soil. Using treated lumber rated for ground contact only in areas that touch food-growing soil without checking current safety ratings — modern pressure-treated wood is generally considered safe, but always confirm the specific treatment type if this matters to you. Filling the bed all at once without letting it settle, then wondering why the soil level drops dramatically after the first watering. Ignoring drainage by placing the bed on a slope or low point where water pools after rain.
Choosing the Best Soil Mix for Your Raised Bed
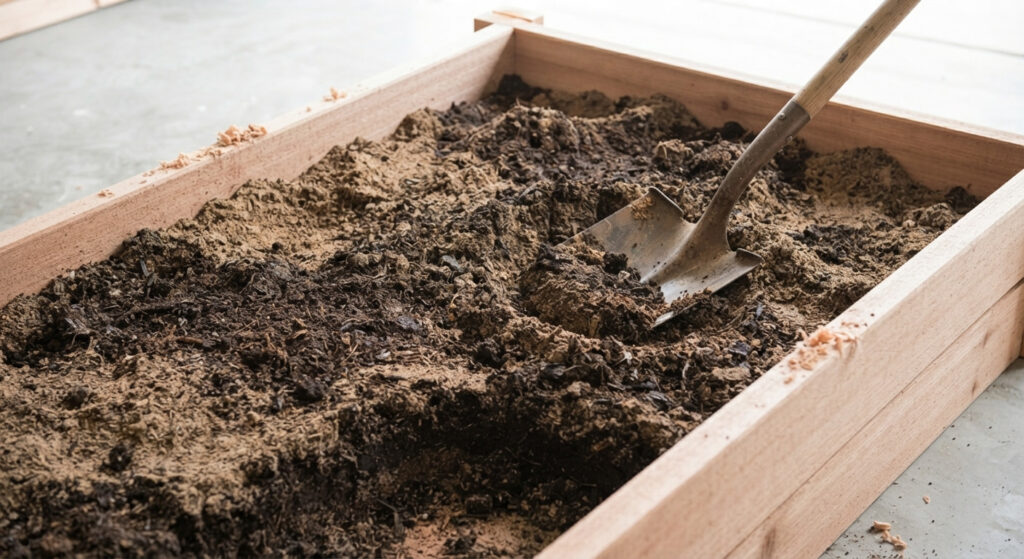
Soil is where most of your raised bed’s performance actually comes from — the frame just holds it in place. A reliable, widely used mix is:
- 60% high-quality topsoil or garden soil
- 30% compost (for nutrients and microbial life)
- 10% aeration material — perlite, coarse sand, or fine bark
This ratio gives you good drainage while still holding enough moisture that you’re not watering twice a day in summer. It’s the same drainage-first logic we covered in our guide to growing tomatoes in fabric grow bags — whether your roots are contained by fabric or by wood, they still need soil that drains well but doesn’t dry out in an hour. If you’re planning to grow tomatoes in this new raised bed, that same loose, compost-rich mix is exactly what tomato roots want, and you can lean on the deeper soil volume of a raised bed to support larger plants than a grow bag typically can.
Avoid using straight native garden soil on its own — it’s usually too dense and compacts quickly in a contained space, restricting root growth and drainage.
Where to Place Your Raised Bed
- Sunlight: 6–8+ hours of direct sun for most vegetables; leafy greens can tolerate a bit less.
- Orientation: Run the bed north-to-south if possible so taller plants don’t shade shorter ones throughout the day.
- Water access: Keep it within hose reach — you’ll water more often than you expect in the first few weeks after filling.
- Drainage: Avoid low spots in the yard where water naturally pools after rain.
Maintaining Your Raised Bed Long-Term
A raised bed needs very little upkeep once it’s built, but a few habits extend its life significantly:
- Top off soil every spring. Soil volume naturally compacts and breaks down by 1–3 inches per year; add fresh compost each season.
- Check the frame for rot or loosening screws at the start and end of each growing season.
- Rotate crops where possible to avoid depleting the same nutrients in the same spot year after year.
- Mulch the surface in summer to reduce watering frequency and suppress weeds.
What to Plant in Your New Raised Bed
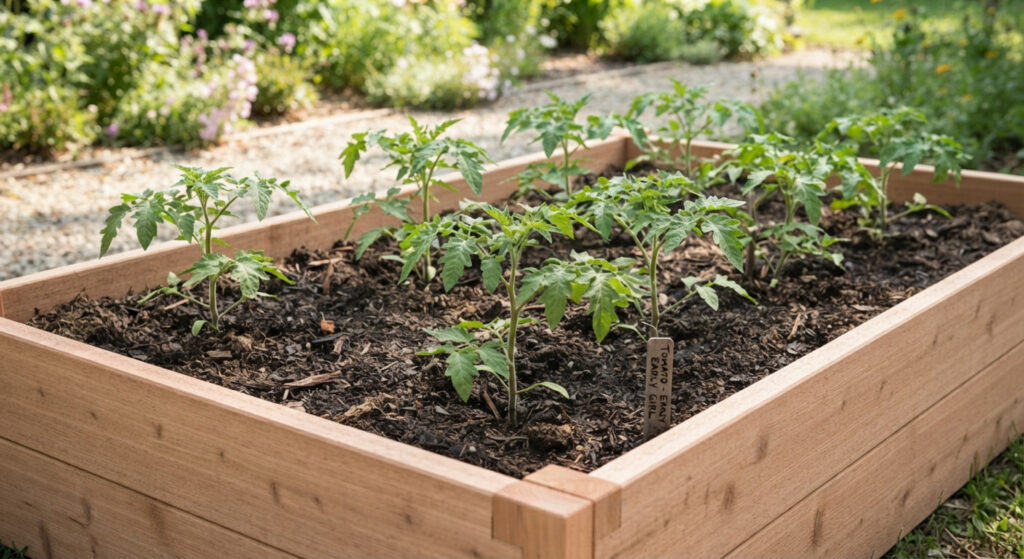
Raised beds work well for nearly everything, but they particularly shine with root vegetables (carrots, beets, radishes) that need loose, deep soil, and with heavy feeders like tomatoes, peppers, and squash that benefit from the extra soil volume and improved drainage. If you enjoyed the results from growing tomatoes in fabric grow bags, moving those same tomato varieties into a raised bed next season is a natural next step — you’ll get even more root space, which typically means larger plants and heavier yields, especially for indeterminate varieties that grow all summer. For more on soil prep, spacing, and support methods specifically for tomatoes, see our full Growing Tomatoes in Fabric Grow Bags guide.
Cost Breakdown: DIY Raised Garden Bed vs. Store-Bought Kit
| Item | DIY Build (Cedar, 4×8×12″) | Store-Bought Kit (Comparable Size) |
|---|---|---|
| Materials | $90–$140 | $180–$300 |
| Assembly time | 1–2 hours | 30–45 minutes |
| Customization | Full control over size/height | Fixed dimensions |
| Total savings | — | You save roughly 40–50% by building it yourself |
Final Thoughts
A well-built DIY raised garden bed is one of those rare garden projects that pays for itself almost immediately — better drainage, easier weeding, less bending, and full control over your soil quality from the very first season. Whether you go with budget pine or long-lasting cedar, the build process above will get you a sturdy bed ready to plant in an afternoon. And if tomatoes are on your planting list, pair this raised bed with the soil and care tips from our fabric grow bag guide for one of the most reliable combinations for a big harvest.
Frequently Asked Questions
How deep should a DIY raised garden bed be?
Most vegetables do well in 10–12 inches of soil depth. Root vegetables like carrots benefit from 14–18 inches, while shallow-rooted herbs and greens can succeed in as little as 6–8 inches.
What is the cheapest material for a raised garden bed?
Untreated pine or reclaimed pallet wood are the cheapest options upfront, though they’ll need replacing within 3–5 years. Cedar costs more initially but is the best value over a multi-year timeframe.
Do I need to line the bottom of a raised bed?
Not always. Line it with hardware cloth if burrowing pests are a problem in your area, or with cardboard if you’re building over grass and want to suppress weeds. If you’re building over bare, weed-free soil with no pest pressure, you can skip lining entirely.
How long does a DIY raised garden bed last?
Depending on material: 3–5 years for untreated pine, 10–15 years for cedar or pressure-treated lumber, and 15–20+ years for concrete block or galvanized steel.
Can I build a raised garden bed without power tools?
Yes. If your hardware store cuts the lumber to length for you, the entire assembly can be done with just a hand-crank or battery drill for the screws — no saw required.
How much soil do I need for a raised garden bed?
Multiply the bed’s length, width, and height in feet to get cubic feet, then convert to cubic yards by dividing by 27 (most bulk soil is sold by the cubic yard). A standard 4×8 ft bed at 12 inches tall needs about 32 cubic feet, or roughly 1.2 cubic yards of soil mix.
Can I build a raised garden bed directly on grass or a patio?
On grass, yes — line the bottom with cardboard to smother the grass rather than digging it up, and the bed can go straight on top. On a patio, driveway, or other hard surface, you’ll want a taller bed (16 inches or more) since roots won’t be able to grow down into native soil, and drainage becomes more important since water has nowhere to go but out the sides and bottom.


Comments (0)