
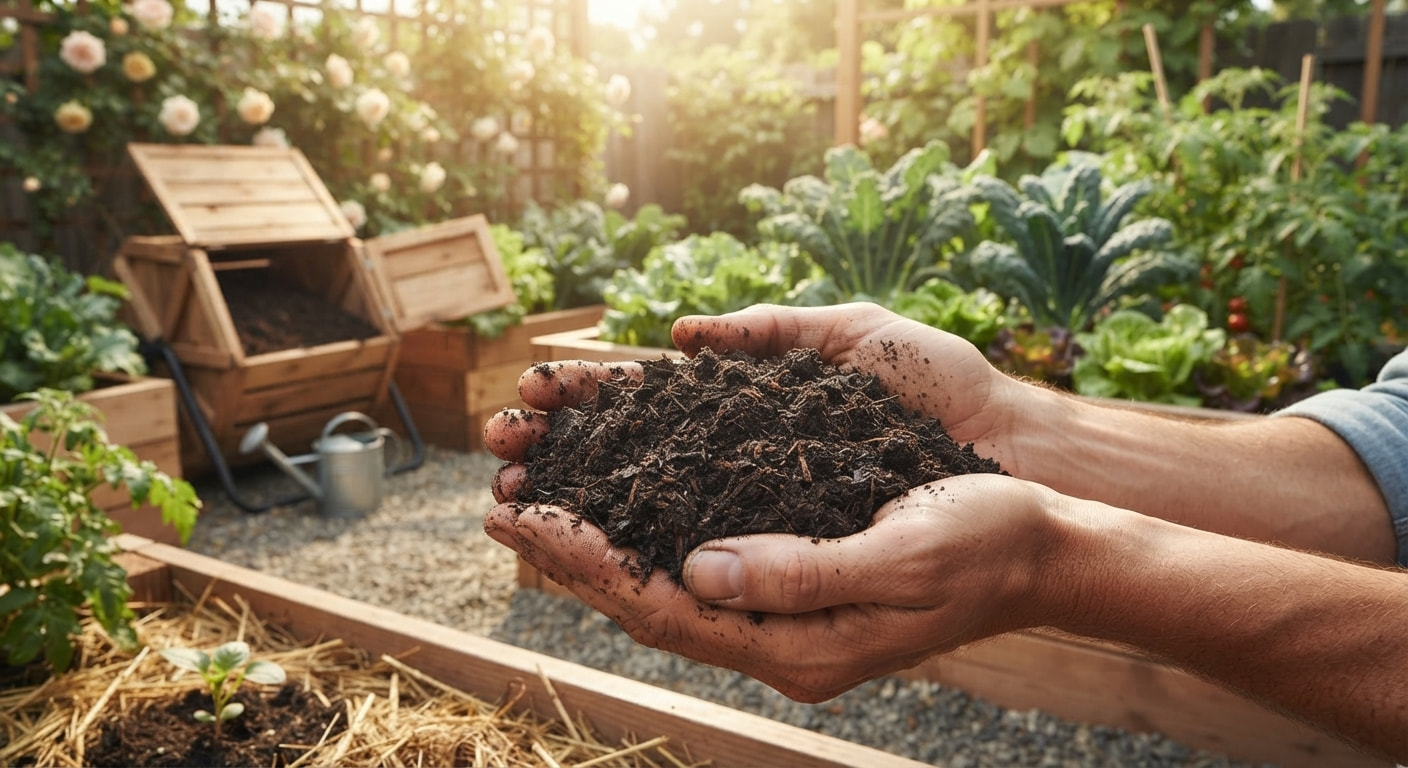
Composting sounds intimidating until you realize it’s just speeding up something nature already does every day. Fallen leaves rot, food scraps break down, and eventually everything organic returns to soil. Composting simply gives that process a helping hand — the right mix of materials, air, and moisture — so you end up with rich, dark, crumbly soil in weeks instead of years.
If you’ve ever tossed a banana peel in the trash and felt a small pang of guilt, or looked at a bag of expensive fertilizer at the garden center and wondered if there was a cheaper, more sustainable option, composting is the answer to both. It’s one of the few gardening habits that costs almost nothing, requires no special skill, and actively improves the world around you — one coffee ground at a time.
This guide walks you through everything you need to start your first compost pile with confidence, no matter how much (or how little) outdoor space you have. By the end, you’ll understand exactly what to add, what to avoid, which method fits your lifestyle, and how to troubleshoot the inevitable hiccups along the way.
Why Your Garden Needs “Black Gold” (And How Composting Works)
Gardeners call finished compost “black gold” for good reason. It’s packed with nutrients, improves soil structure, retains moisture, and introduces beneficial microbes that help plants thrive — all without synthetic fertilizers. Unlike store-bought fertilizers, which typically deliver a narrow band of nutrients in a fast, temporary burst, compost releases nutrients slowly and builds long-term soil health that keeps paying off season after season.
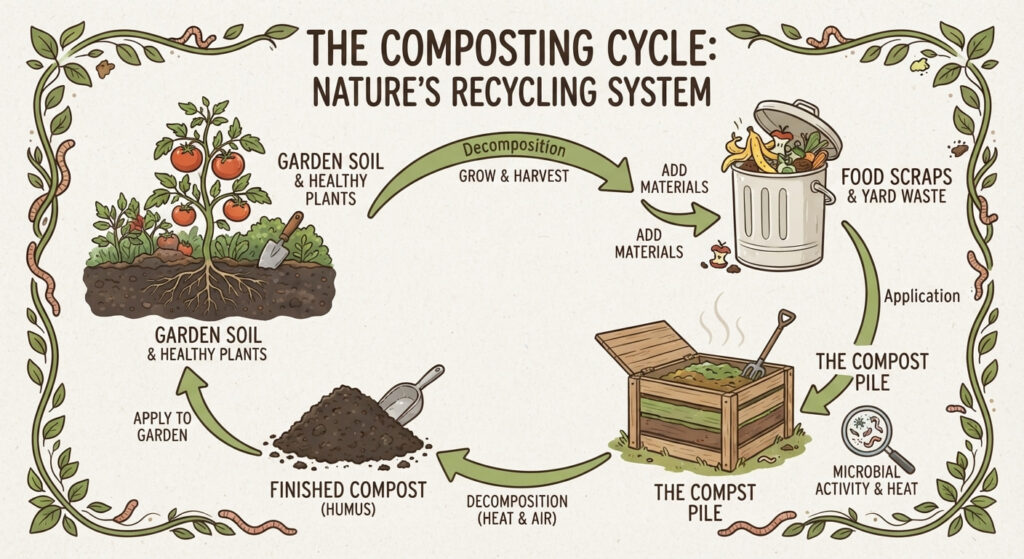
At its core, composting is a controlled decomposition process. Microorganisms — bacteria, fungi, and other decomposers — break down organic material, consuming carbon for energy and nitrogen for growth. As they work, the pile heats up, materials shrink down, and what’s left behind is humus: a stable, nutrient-dense material that’s one of the best soil amendments you can add to a garden.
There are actually two broad “flavors” of decomposition happening in most home compost systems. The first is aerobic decomposition, which relies on oxygen and produces the fast, hot, relatively odor-free breakdown most gardeners aim for. The second is anaerobic decomposition, which happens when oxygen is scarce (think a soggy, compacted pile) and tends to produce that unpleasant, sulfur-like smell people associate with “bad” compost. Understanding this distinction is key — most composting problems boil down to one of these two processes going out of balance, and the fixes almost always involve restoring airflow.
Compost also does more than feed plants. It improves soil texture, whether your native soil is heavy clay or fast-draining sand. In clay soil, compost helps break up compaction and improves drainage. In sandy soil, it helps the ground retain water and nutrients that would otherwise wash straight through. It also supports a thriving underground ecosystem of earthworms, beneficial fungi, and microorganisms that naturally aerate soil and suppress some plant diseases.
Beyond the garden benefits, composting also diverts food waste from landfills, where it would otherwise be compacted and buried without oxygen, causing it to release methane — a greenhouse gas many times more potent than carbon dioxide. According to various environmental studies, food scraps and yard waste together make up a significant share of what ends up in landfills, so redirecting even a portion of that waste into a backyard bin can meaningfully shrink a household’s environmental footprint.
In other words, composting is a small habit with an outsized impact — for your garden, your grocery budget, and the planet.
The Golden Rule of Composting: Balancing Greens and Browns
Every successful compost pile comes down to one core principle: balancing “greens” (nitrogen-rich materials) with “browns” (carbon-rich materials). Get this ratio right, and your pile will break down efficiently without smelling bad or attracting pests. Get it wrong, and you’ll end up with a slimy, smelly mess or a dry pile that refuses to decompose.
A good starting ratio is roughly 3 parts browns to 1 part greens by volume, sometimes described as a carbon-to-nitrogen (C:N) ratio of around 25–30:1. This number sounds technical, but you don’t need a chemistry degree to manage it — think of it visually instead. If your bin looks mostly wet, green, and mushy, add more dry brown material. If it looks like a dry pile of straw and leaves that hasn’t budged in weeks, add more greens and a bit of water.
It also helps to think of browns as the “structure” of your pile and greens as the “fuel.” Browns create air pockets that let oxygen circulate, which is essential for the aerobic decomposition process described earlier. Greens supply the moisture and nitrogen that feed the microbial activity generating heat. Neither works well without the other, which is why balance — not just volume — is the real goal.
Nitrogen-Rich “Greens” (What to Add)
Greens provide the protein and moisture microbes need to multiply quickly, and they’re usually the wetter, fresher materials in your kitchen or yard. Common examples include:
- Fruit and vegetable scraps (peels, cores, ends, wilted produce)
- Coffee grounds and tea bags (remove staples and plastic tags first)
- Fresh grass clippings
- Eggshells (crushed, since they break down faster in smaller pieces)
- Plant trimmings and spent flowers
- Fresh garden weeds (as long as they haven’t gone to seed)
A quick tip: even though eggshells and coffee grounds are commonly labeled “greens,” they’re technically closer to neutral in terms of nitrogen content. Gardeners often group them with greens anyway because of their moisture content and because they’re typically added alongside true nitrogen-rich kitchen scraps.
Carbon-Rich “Browns” (What to Add)
Browns provide the structure and energy source that keeps the pile from turning into a slimy, smelly mess, and they tend to be the dry, woody, or paper-based materials around your home. Common examples include:
- Dry leaves (one of the most reliable, free browns available every fall)
- Cardboard and paper (shredded, uncoated, and free of glossy print)
- Straw or hay
- Small twigs and wood chips
- Sawdust from untreated wood
- Dried plant stalks and corn husks
Keeping a stash of dry leaves or shredded cardboard on hand near your compost area makes it much easier to instantly balance out a heavy addition of kitchen scraps, especially during summer months when greens tend to pile up faster than browns.

What NOT to Compost (The Golden Don’ts)
Certain materials should stay out of your compost pile entirely, as they can introduce pathogens, attract pests, create foul odors, or simply take far too long to break down in a typical home system:
- Meat, bones, and fish scraps (attract pests and rodents, and decompose slowly)
- Dairy products (create strong odors and attract animals)
- Oily or greasy foods (slow decomposition and can create odor issues)
- Pet waste (dog or cat feces may carry pathogens harmful to humans)
- Diseased or pest-infested plants (can spread disease back into your garden)
- Glossy or coated paper (often contains chemicals or plastic coatings that don’t break down)
- Chemically treated wood (may contain preservatives toxic to soil life)
- Synthetic materials like plastic-lined tea bags or “compostable” plastics not rated for home composting
If you’re ever unsure whether something belongs in your pile, a good rule of thumb is to ask whether it was recently a plant. Most plant-based, unprocessed materials are safe; most animal products, processed foods, and synthetic materials are not.
Choosing the Best Composting Method for Your Space
Not everyone has a big backyard, and that’s okay — there’s a composting method suited to almost any living situation, from sprawling suburban yards to studio apartments. Choosing the right one comes down to how much space you have, how fast you want results, and how hands-on you want to be.
Outdoor Compost Piles or Bins (Best for Yards)
If you have outdoor space, a simple pile or a compost bin is the most traditional and low-cost option. Open piles are free but slower and less tidy, since they’re exposed to the elements and can be harder to keep at a consistent moisture level. Enclosed bins, on the other hand, keep things contained, retain heat better, and look far neater in a backyard setting.
This method works especially well for households generating a steady volume of yard waste — grass clippings, fallen leaves, garden trimmings — alongside kitchen scraps. A three-bin or two-bin system is popular among more experienced gardeners because it allows one pile to actively “cook” while another cures, creating a continuous supply of finished compost without interrupting the process.
Outdoor piles do require occasional maintenance: turning with a pitchfork or aerator tool, monitoring moisture after rain or during dry spells, and sometimes covering the pile with a tarp to regulate both. But for anyone with even a modest yard, this remains the most affordable and scalable composting method available.
Tumbler Bins (Best for Fast Results & Pests Control)
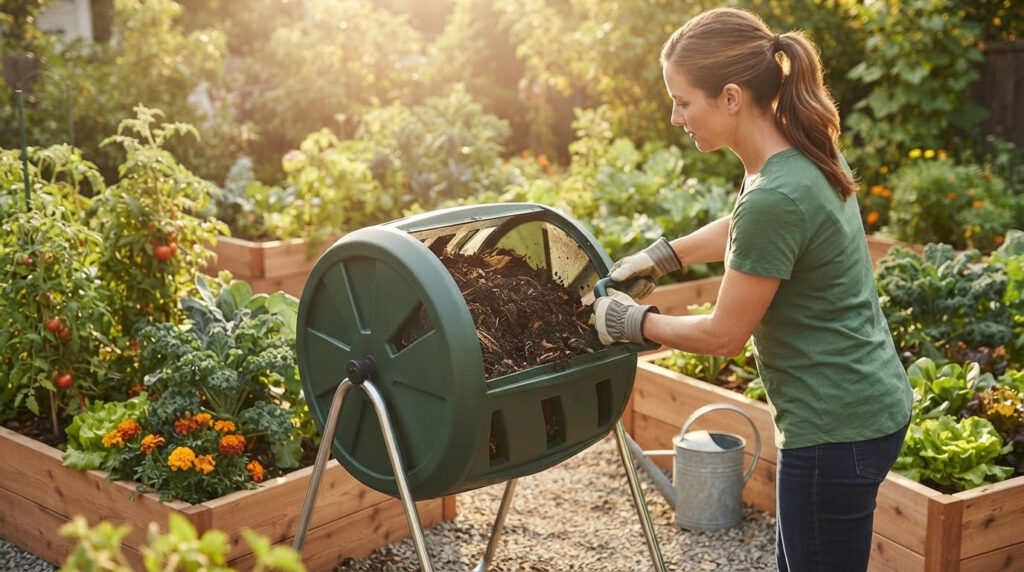
A compost tumbler is a sealed, rotating drum that makes turning your pile as easy as spinning a handle or rolling it a few times. Because it’s fully enclosed, it deters pests and rodents far more effectively than an open pile, which makes it a popular choice for suburban and urban yards where wildlife activity is a concern.
Tumblers also tend to retain heat more efficiently than open piles, since the enclosed design traps warmth generated by microbial activity. This consistent heat, combined with easy, frequent aeration, speeds up decomposition considerably — many gardeners report finished compost in as little as four to eight weeks, compared to several months or longer with a passive pile.
The trade-off is capacity and cost. Tumblers are generally smaller than open bins, so they suit households producing a moderate volume of scraps rather than large amounts of yard waste. They also tend to cost more upfront than a DIY pile or basic wire bin, but the speed, tidiness, and pest control they offer often make up for the investment, especially for beginners who want visible results without a steep learning curve.
Worm Composting / Vermicomposting (Best for Apartments & Small Spaces)
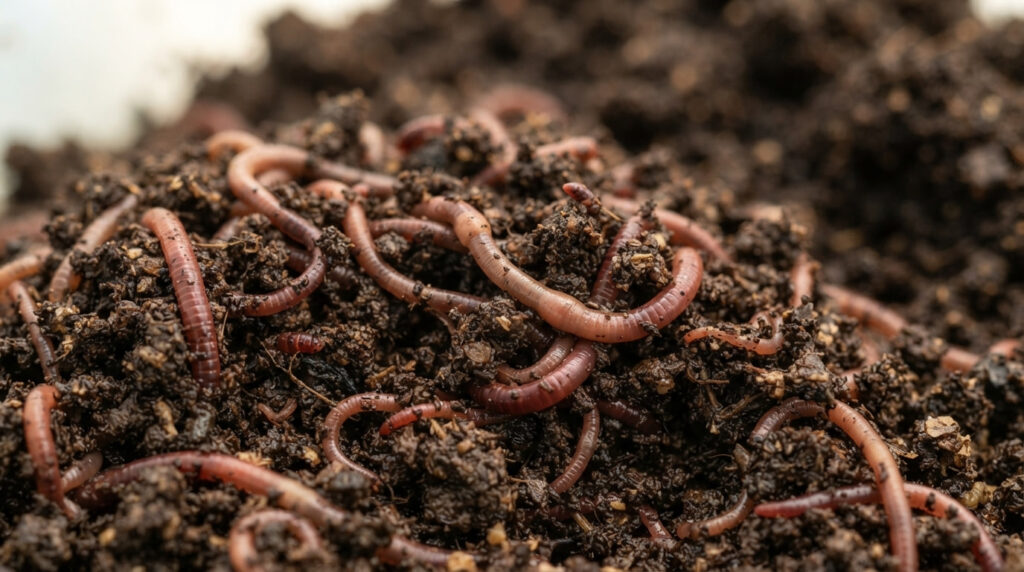
No yard? No problem. worm composting bin uses red wiggler worms to break down food scraps indoors, under a sink, in a closet, or on a balcony, with minimal odor when managed correctly. Unlike outdoor composting, vermicomposting relies on the worms themselves (rather than heat) to process organic material, which is why it works so well in small, temperature-stable indoor environments.
Setting up a worm bin involves a container with bedding material (shredded newspaper or coconut coir works well), a population of red wiggler worms, and a steady but modest supply of food scraps. Worms are surprisingly efficient eaters, but overloading the bin with too much food at once can cause odor and moisture problems, so it’s best to start slow and increase feeding gradually as the worm population grows.
It’s an excellent option for apartment dwellers, students, or anyone hesitant to commit to an outdoor system, and the worm castings produced are considered an even more potent, nutrient-dense fertilizer than traditional compost. Many indoor gardeners use finished worm castings for houseplants, container gardens, or seed-starting mixes, where a little goes a long way.
Step-by-Step: How to Start Your First Compost Pile
Starting your first pile can feel overwhelming with so many “rules” floating around, but the actual process is refreshingly simple once you break it down into steps.
- Choose your method and location. Pick a spot with good drainage, partial shade, and easy access (or select an indoor-friendly method like vermicomposting if outdoor space isn’t available). Convenience matters — if your bin is tucked away somewhere inconvenient, you’re less likely to keep up with it.
- Start with a coarse base layer. A few inches of twigs or straw at the bottom helps with airflow and drainage, preventing the pile from becoming compacted and soggy right from the start.
- Layer greens and browns. Alternate layers, aiming for roughly 3 parts browns to 1 part greens by volume. You don’t need to measure precisely — eyeballing it becomes second nature after a few weeks.
- Add water as you go. The pile should feel like a wrung-out sponge — moist, not soggy. In dry climates, you may need to water occasionally; in wet climates, a cover can help prevent oversaturation.
- Turn the pile regularly. Use a compost aerator tool or pitchfork every one to two weeks to introduce oxygen and speed up decomposition. Turning also helps redistribute heat and moisture evenly throughout the pile.
- Monitor heat and moisture. A compost thermometer can help you track internal temperature; an actively “cooking” pile often reaches 130–160°F (54–71°C) at its core, which also helps kill weed seeds and pathogens.
- Keep adding scraps. Continue layering greens and browns as they become available, keeping the ratio roughly balanced with each addition rather than dumping large amounts of one type at once.
- Be patient. Depending on the method, finished compost can take anywhere from six weeks to a year. Consistency matters more than speed — a pile that’s regularly maintained will always outperform one that’s set up once and ignored.
It’s worth noting that composting isn’t an exact science, and your first few batches are as much about learning your specific setup, climate, and habits as they are about following a strict formula. Don’t be discouraged if your first pile doesn’t behave exactly as described; small adjustments over time will get you dialed in.

Troubleshooting Common Composting Problems
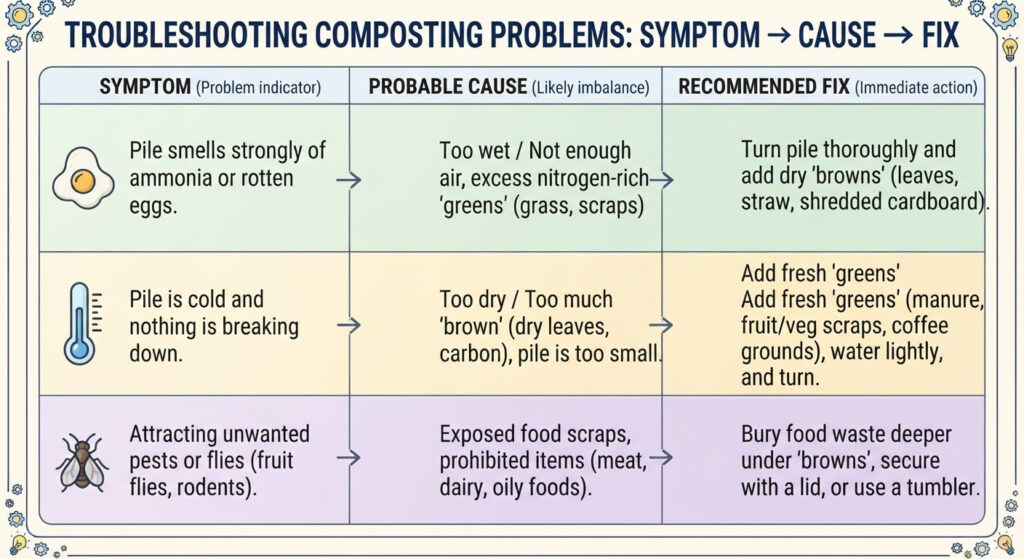
Even well-managed piles run into hiccups. The good news is that nearly every composting problem falls into one of a handful of predictable categories, and each has a straightforward fix.
Problem: Your pile smells like ammonia or rotten eggs (Too Wet / Too Much Green)
A strong, unpleasant odor is one of the most common early complaints from new composters, and it almost always means there’s too much nitrogen-rich material and not enough airflow. When greens dominate the pile, especially wet ones like grass clippings or food scraps, the material compacts and pushes out oxygen, triggering anaerobic decomposition — the smelly kind.
To fix it, add dry browns like shredded cardboard, dry leaves, or straw, mixing them in thoroughly rather than just layering them on top. Turn the pile to reintroduce oxygen throughout, not just at the surface. If the pile is genuinely soggy to the touch, consider covering it during heavy rain and holding off on watering until the excess moisture has a chance to evaporate.
Problem: The pile is cold and nothing is breaking down (Too Dry / Too Much Brown)
If your pile feels dry, looks more like a stack of leaves than active compost, and hasn’t generated any heat, it likely needs more moisture and nitrogen. Dry, carbon-heavy piles simply don’t have enough microbial fuel to get decomposition going.
Add fresh greens — grass clippings, fruit and vegetable scraps, or even a handful of nitrogen-rich fertilizer if you’re in a pinch — and water the pile lightly as you mix them in. Then turn the pile thoroughly to distribute the added material evenly rather than leaving pockets of dry brown material untouched. Within a few days to a week, you should start to notice warmth building in the center of the pile, a sign that microbial activity has kicked back in.
Problem: Attracting unwanted pests or flies (Exposed Food Scraps)
Pests — whether fruit flies, rodents, or curious neighborhood animals — are usually drawn to food scraps sitting on or near the surface of the pile. This is one of the most avoidable composting problems, and it almost always comes down to burying material properly.
Always bury fresh food waste under a layer of browns rather than leaving it exposed at the top. Avoid composting meat, dairy, or oily foods altogether, since these are the biggest pest magnets. If rodents or larger animals are a recurring issue, consider switching to an enclosed bin or tumbler, both of which physically block access far better than an open pile.
How and When to Harvest Your Finished Compost
Finished compost is dark brown or black, crumbly, and smells earthy — like fresh forest soil after rain — with no recognizable food scraps or yard waste remaining. If you can still spot an eggshell, an avocado pit, or a stick that hasn’t broken down, your compost isn’t quite ready yet, even if the rest of the pile looks finished.
Depending on your method and how often you turn the pile, reaching this stage can take anywhere from six weeks with an actively managed tumbler to six to twelve months with a passive, rarely-turned pile. Vermicomposting timelines vary too, generally landing somewhere in between, depending on the size of the worm population and how consistently the bin is fed.
To harvest, stop adding new material to that section and let it “cure” for a few weeks. Curing gives any remaining organic matter time to finish breaking down and allows the pile to stabilize, which is important — compost that’s added to soil too early (sometimes called “hot” or immature compost) can actually harm plants by tying up nitrogen or introducing excess heat to root zones.
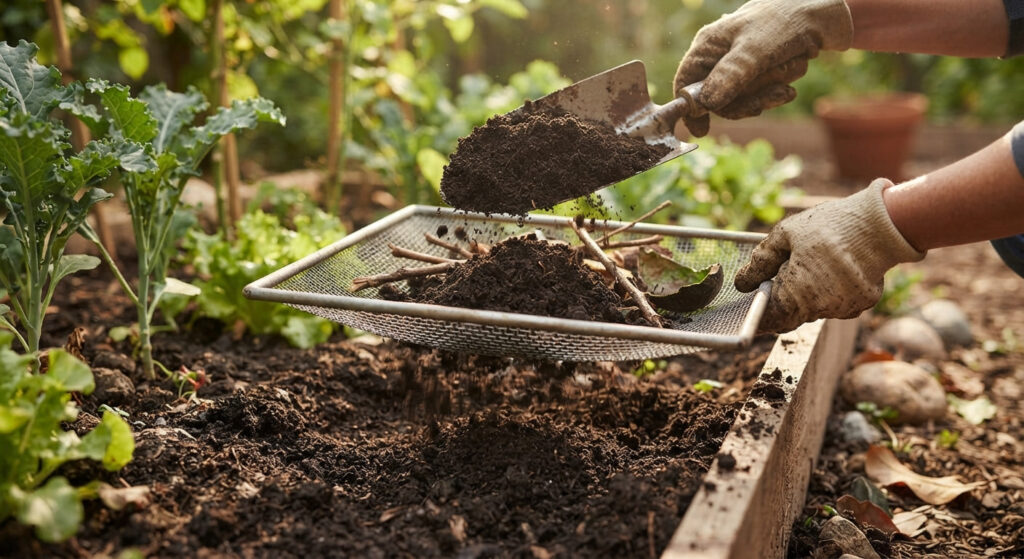
Once cured, sift out any large, undecomposed chunks — twigs, avocado pits, corn cobs, and the like — using a compost sifter, and toss them back into a new, active pile to keep breaking down rather than discarding them. This “seeding” approach also helps kickstart the new pile with beneficial microbes already present from the finished batch.
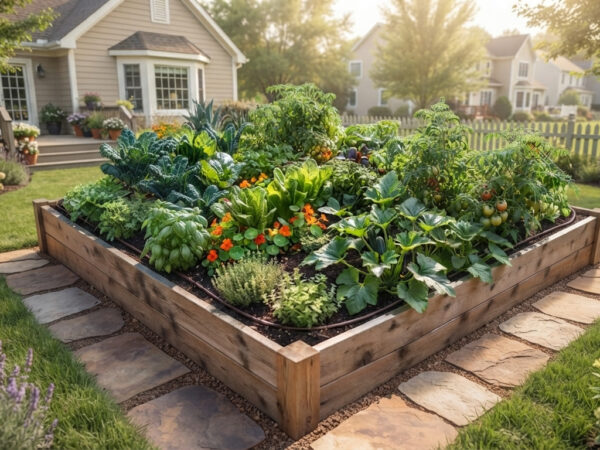
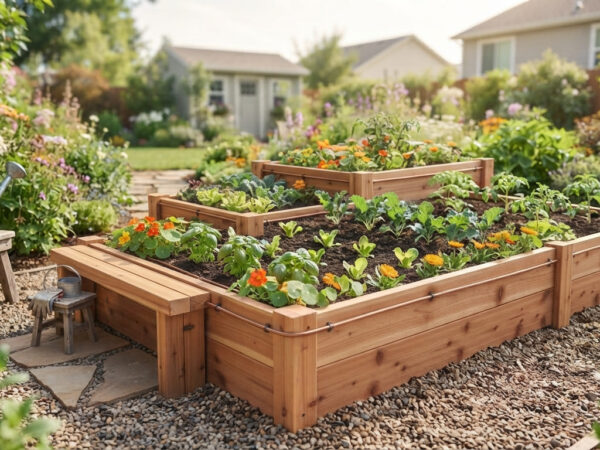
Once ready, work your finished compost into garden beds before planting, mix it into potting soil for containers, or use it as a nutrient-rich top-dressing mulch around existing plants. A general guideline is to apply a one- to two-inch layer worked into the top few inches of soil, though established plants can also benefit from a light surface application a few times a year.
Conclusion
Composting isn’t about being perfect — it’s about building a simple, sustainable habit that turns everyday scraps into something genuinely valuable for your garden. Whether you’re working with a big backyard pile, a tidy tumbler, or a worm bin tucked under the sink, the fundamentals stay the same: balance your greens and browns, keep things aerated and moist, and give the process a little time.
Expect a learning curve. Your first pile might smell a little off, dry out faster than expected, or attract a curious raccoon before you get the hang of burying scraps properly — and that’s completely normal. Every experienced composter has been there. What matters is paying attention to the signals your pile is giving you (smell, temperature, texture) and adjusting accordingly, rather than expecting a flawless process on the first try.
Start small, learn from the occasional smelly or slow pile, and before long you’ll have a steady supply of nutrient-rich “black gold” to feed your garden for seasons to come — while also cutting down on household waste and doing your small part for the environment. Few gardening habits offer that much return for so little ongoing effort.
Frequently Asked Questions
It depends heavily on your method and how actively you manage it. A well-turned tumbler, fed consistently and monitored for moisture, can produce finished compost in as little as four to eight weeks. A passive backyard pile that’s rarely turned may take anywhere from six months to a year to fully break down. Vermicomposting timelines fall somewhere in between, depending on your worm population and feeding schedule.
Not necessarily, and in many climates, too much direct sun can actually work against you by drying the pile out faster than you can keep it moist. A spot with partial shade often works best, since it helps the pile retain moisture without requiring constant watering, while still allowing enough warmth to support microbial activity.
Yes, in moderate amounts. While myths suggest they harm worms or slow decomposition, small to moderate quantities of citrus and onion scraps are perfectly fine in traditional outdoor compost piles. For worm bins specifically, it’s best to add them sparingly, since large amounts of acidic material can irritate the worms or throw off the bin’s pH balance over time.
Fruit flies are almost always drawn to exposed food scraps sitting near the surface of the pile, where they can access moisture and sugars easily. The fix is simple: always bury fresh scraps under a layer of browns like dry leaves or shredded cardboard. If fruit flies remain a recurring nuisance, switching to a sealed tumbler or a bin with a tight-fitting lid can eliminate the problem almost entirely.
A bin isn’t required — an open pile works perfectly well for many home gardeners, especially those with larger yards and no immediate pest concerns. However, bins and tumblers help contain odors, keep pests out, retain heat more effectively, and can noticeably speed up the composting process, making them a worthwhile investment for smaller yards, urban areas, or anywhere pests are a persistent issue.
Yes, absolutely. Vermicomposting (worm bins) is specifically designed for small, indoor spaces and produces minimal odor when properly maintained — no yard, balcony, or outdoor access required. It’s a great option for apartment dwellers who still want to reduce food waste and produce their own nutrient-rich soil amendment for houseplants or container gardens.

Comments (0)